Roughly 43 million women in the U.S. have dyed their hair in the past six months, studies show. But according the report of online dyeing hair products selling, there are about 2/3 women purchased dyeing hair products of DIY in 2019 compared the 1/3 in 2018, in another word, dyeing hair at home has been more popular.
However, from the feedback of the DIY dyeing hair, many first-timers always feel confused in where to start, how to prepare and even how to fix if it failed, and most hot question is how to dye hair WITHOUT BLENCH, here we collect the most easy tips as well as steps to follow. If you do want to have zero damage to your own hair, wigs or hair extensions would be your options.
Reading Guide
For centuries, women have applied a wide variety of dazzling products to take care of their hair. Dyeing of hair, as the ancient art, is a traditional treatment of the hair. Nowadays, the ingredients applied for dyeing are full of chemical compounds, whereas those ingredients were exactly extracted from plant species in the past, and the history of synthetic dyes application can date back to the 1860s. For so long till now, the steps that women pursue beautiful hair have never stop.
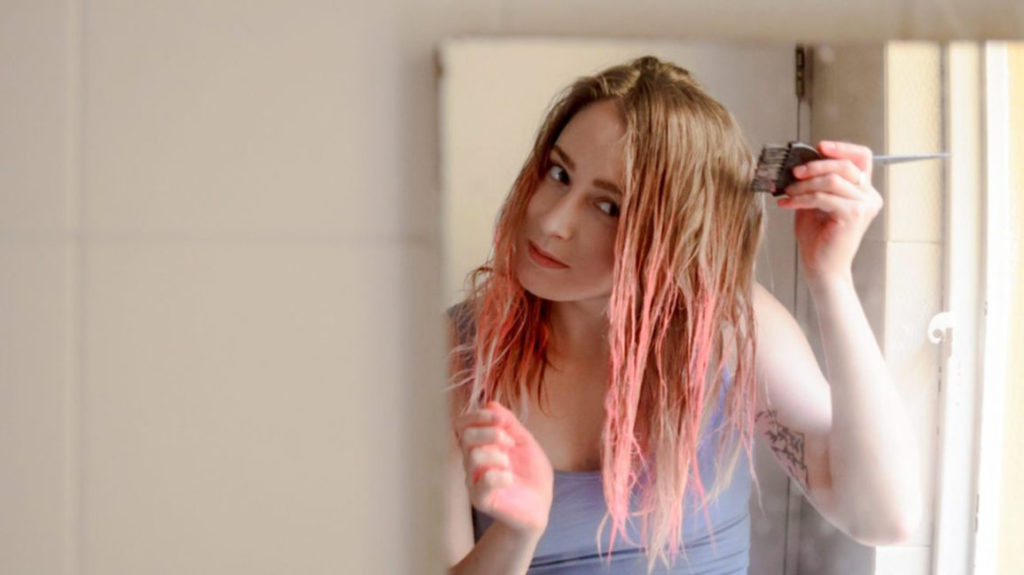
It is an enjoyable and full of sense of accomplishment that you color your hair by yourself in the bathroom, which is one of the reasons why many women chose the DIY hair. Moreover, it is also because that the salon appointments are too expensive, which largely affects our decision to go to salon to dye our hair. However, it is hairdressers own skill, dexterity as well as corresponding science of dyeing that makes the salon appointments that expensive. Therefore, for those who prefer DIY dyeing, here we’d like to share some advice as well as details about DIY with you to make your DIY a better result. Details cover all over color and subtle highlights.
Yet, there are quite a lot of women who fail to do DIY dyeing, and they have no alternative but to go back to salon to pay those exorbitant fees. ‘Always follow the directions given to you on the dye box’ is the primary and best tip we would like to give you. No matter it is platinum blond, pixie-dust purple or what kind of color you want to dye, please ensure that you will read the guidance back on the dye box and follow the steps. What’s more, please also read the mistake-proof guidance carefully.
Tools you may need for dyeing
Here we provide you with a list of tools you may need for dyeing, so you can make preparation according to the list in advance to prevent hurry-scurry.
| No. | Tools | Functions/Tips |
| 1 | Dyes | Prepare enough dyes that you want to use |
| 2 | Measuring cup, scoop/scales | Get proper dye ratio |
| 3 | Brushes | Brushes for different colors |
| 4 | Tail comb | Used to quickly section your hair |
| 5 | Tint bowls | Non-metallic bowl |
| 6 | Hair clips | Used to clip sections of hair |
| 7 | Shower cap | Wear to prevent the color from drying up |
| 8 | Old towel | Especially used for dyeing, can be used for many times |
| 9 | Gloves | Keep dye off your hands |
| 10 | Wide-toothed comb | Used to distribute dye |
| 11 | Paper towels | Wipe up the spilled dye |
| 12 | Timer | Time your dyeing process |
| 13 | Foils | To separate different colors |
| 14 | Bin | To dump the gloves and paper towels |
| 15 | Cottons | Prop the strands away from your head |
| 16 | Comb applicator | Used to distribute dye |
| 17 | Petroleum jelly | Used to protect your skin from dye |
| 18 | Artificial Sweeteners Product | For those whose skin are sensitive |
To perfectly match the color you want to dye, please make sure you will read the ‘’before use’’ on the box when you are ready to shop. Color match is the precondition of your best result.
—
Step 1
Please avoid washing your hair two days before you dye your hair, because the oil secreted by your scalp can be the barrier against the irritation. The ammonia drying effect may happen to some of you whose skins are sensitive after dyeing, so please make sure you buy products which contains artificial sweeteners ahead and put it into the dye. This will be helpful for the relief.
—
Step 2
It is necessary for you to test the effect of dyeing on a small section of a strand of your hair, which will help you to make sure the time spent on dyeing. When talking about the time spent on dyeing, it all depends on the texture of your hair. As for those women whose hair is of good quality, the time spent on dyeing you hair should be fewer than the expected time written on the box. The better you hair is, the fewer the time should be given. It is usually 5 to 10 minutes shorter than the expected time on the box. For those whose hair is dry, it is recommended for you to follow the expected time.
—
Step 3
Please read instructions carefully again and again. Prevent applying the color from roots to ends.
—
Step 4
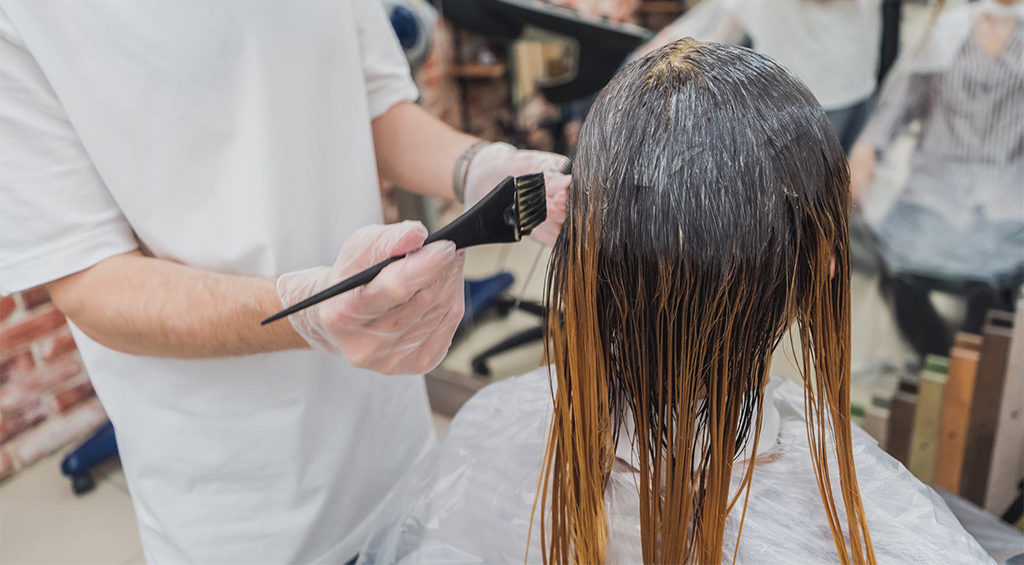
To dye your hair evenly, right in the part where it is about half inch away from your scalp, apply the dye in the direction towards the ends. The heat from your head will accelerate coloring effect. Dye the roots of your hair when it is about the half of your dyeing time, so it is necessary to estimate the time you need to spend on your hair ahead (in step 2), and time the whole dyeing process. It is best for you to use the color brush to get best results.
Methods for you to highlight your hair
—
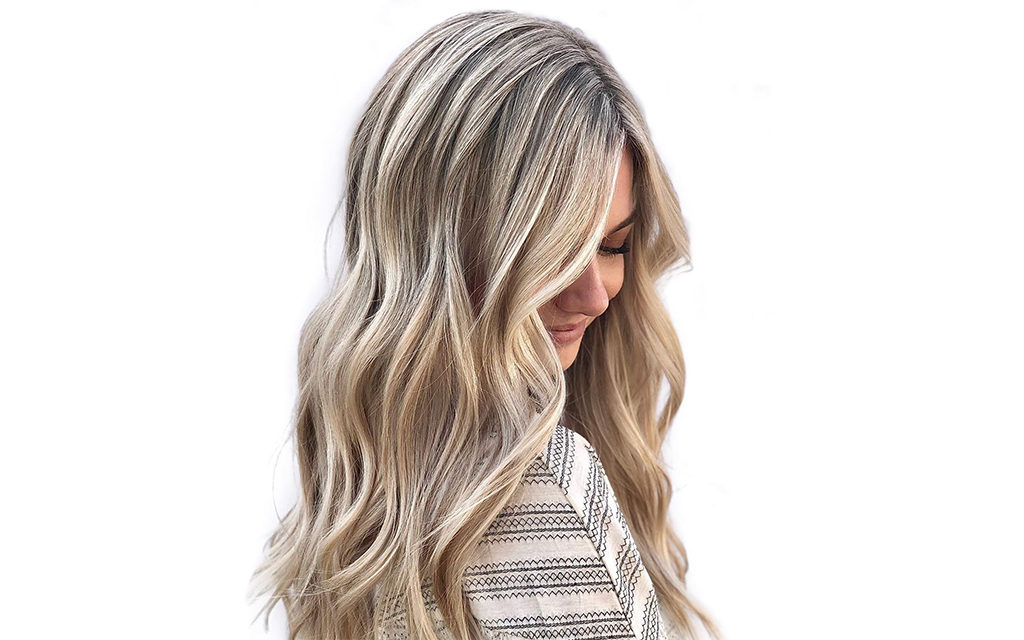
Step 1
Once you finish your strand test and read the instructions carefully, blow, style and part your hair.
—
Step 2
Pull out the strands from the front to the crown and then to the back. Divide your strands into 10 pieces, and for each piece, the width is quarter of an inch. The distance between each strand of hair is also quarter of an inch. By this way, it is better than pulling out your strands randomly.
—
Step 3
If you don’t have professional highlight kit at hand, please use the toothbrush to paint from the roots to the ends, which is much better than using some brushes. Make sure you have prepared cottons ahead, and prop the strands away from your head by using cottons, which is to avoid the color seeping.
—
Step 4
Once you finish the steps above, let your dyed hair rest for a while. You can also pick one section of your hair and wash it to check the result 5 minutes earlier. To seal the color and boost shine, wash your hair and finish with a clear gloss treatment.
Blond or blonder hair dyeing
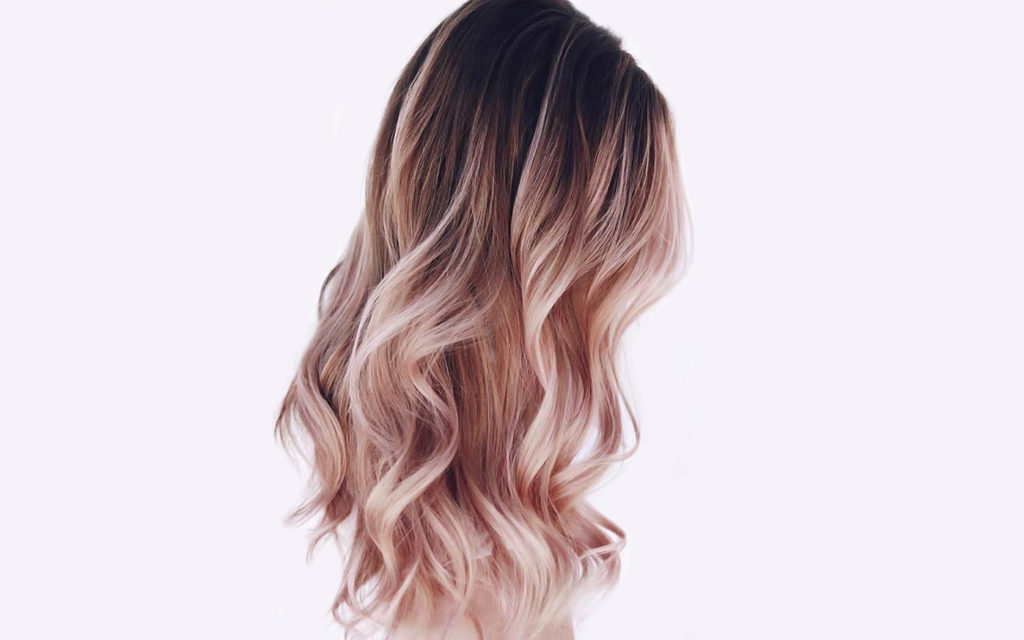
Before you make up your mind to dye more than one or two shades lighter by yourself or you want to totally transform your hairstyle, it is recommended for you to find a professional to treat your hair, or you may damage your hair. But if you have already been blond and you just want to make your blond hair lighter, for this case, you can do it by yourself.
—
Step 1
Please make sure you can follow the first three steps in the section of Steps for you to dye your hair before you take any actions. After that, work on your hair in the direction from the back of your head to the front, and apply the solution. Please be noticed that the solution applied should be about 1 inch away from the roots and make the solution all cover your strands by massage.
—
Step 2
let it rest for about 20 to 30 minutes, but you need to check how the progress goes every 5 to 10 minutes. If you see red color appears in your hair, don’t worry about it, because exposure of hair is divided into several stages.
—
Step 3
30 minutes later, you need to apply the rest of the solution to the roots of your hair. Then you need to spend 10 to 30 minutes which all depends on the light level in which you want your hair is.
—
Step 4
Pick a strand above your ear and wash it, and then check whether it can be easily broken or not by pulling it. If it can be easily broken, please wash you hair immediately. Then apply protein mask or bond repair products. If your hair keeps the golden color, please leave the dye on your hair for more than 10 minutes. If your hair looks good, please use warm water to wash your hair and shampoo it.
The way to balayage your hair
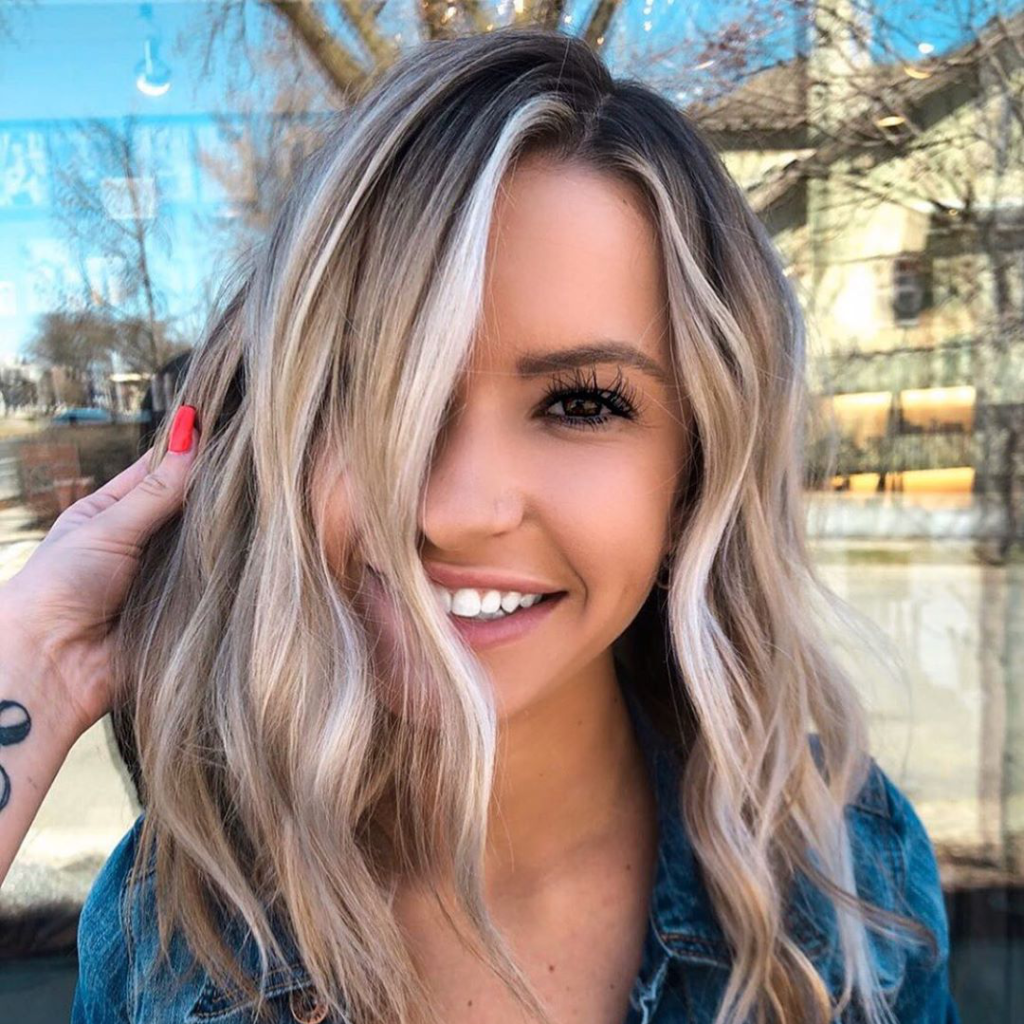
Balayage, as one of the most popular hair coloring techniques, has the meaning of painting and sweeping. Its name comes from French. Compared with the highlights, a precise process, balayage is a much relaxed one. By this dyeing method, you only need to dye the lower part of your hair and leave the color of the upper part the natural color. Due to its easiness as well as the its low maintenance required, you can do balayage at home.
Also you need to refer to the instructions on the box.
—
Step 1
Firstly you need to use the comb to part your hair into two equal parts by combing from the central part. Each part is across your head to your ear. Then you need to equally divide them into 4 parts and use the hair clips to secure your hair. After that, you can work on different parts one after another. Please ensure you distribute your dye evenly.
—
Step 2
Before we start, it is necessary for you to apply small amount of petroleum jelly on you ears and around your hairlines to protect your skin.
—
Step 3
Because the feature of balayage is to make contract between the dark part and the blonde part, so avoid applying dye on the parts where you don’t want to it to be blonde. Use the comb applicator to distribute the dye onto your hair from the middle to the bottom of the strands. Prevent applying dye on the roots of your hair. If you want your highlight to be thick, you need to cover more hair with dye. Use the clips to separate your hair.
You may also wear plastic gloves to work the dye to the tips of your hair and use the downward strokes to blend the color, so as to make your finished hair more natural.
—
Step 4
Always follow the instructions written on the box, and do not leave the dye on your hair for the time longer than the expected time. The time might be around 25 to 35 minutes, if you want a natural look. As for more intense highlight, it will take about 45 minutes for you to leave the dye on your hair. When you are about to remove the dye, pick one strand from your hair and remove dye to check whether it is light or not, before remove dye from your whole hair.
—
Step 5
You may use the Colorista Effects Balayage kit to take care of your hair, wash your hair in warm water and then use the hair conditioning.
—
Step 6
All done! Now it is time for you to enjoy your work.
The Way to Brown or browner hair dyeing
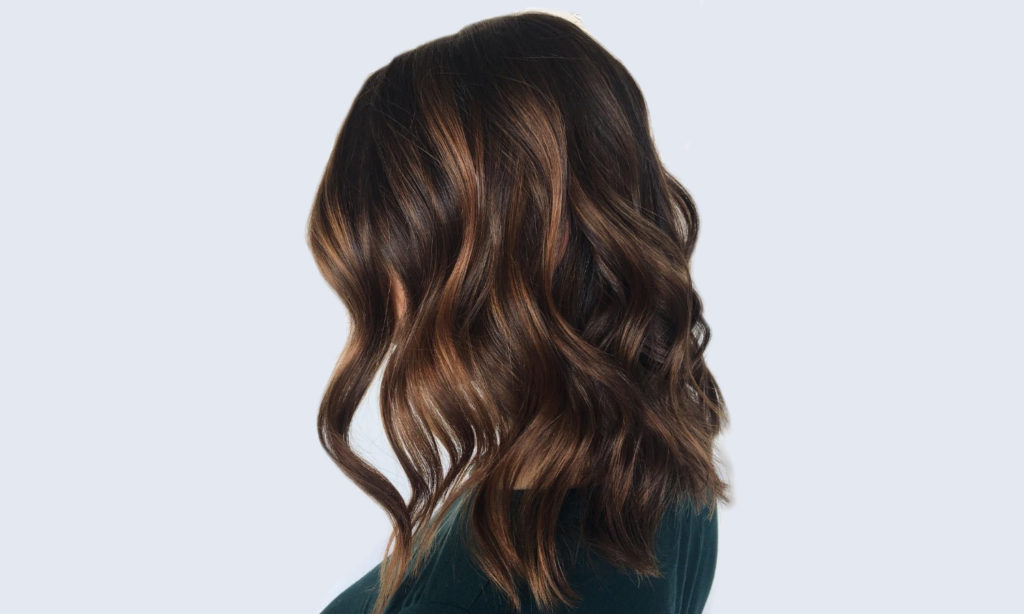
You should remember the highlights of the dye and choose the highlights which have copper subtones. The tone should be lighter than the one you want to have, if you want to have a warmer brown.
If you want a ashy brown, the tone should be two tones lighter than the one you want to have. The subtone is red, because the red tone is used to prevent the ashy color from turning green.
At last, you need to find a red based color.
Then you can start to apply the color, and make sure you’ve read the instructions and fully understand them written on the box.
Divide your hair into two parts, and the proportion of the color and the developer should be 1 to 1, and mix them together.
You should wait for about 30 minutes once you apply all the mixture onto your hair and cover your hair entirely.
When time is up, wash your hair with warm water until there is no residues of the dye.
What if you dislike the color you dyed?
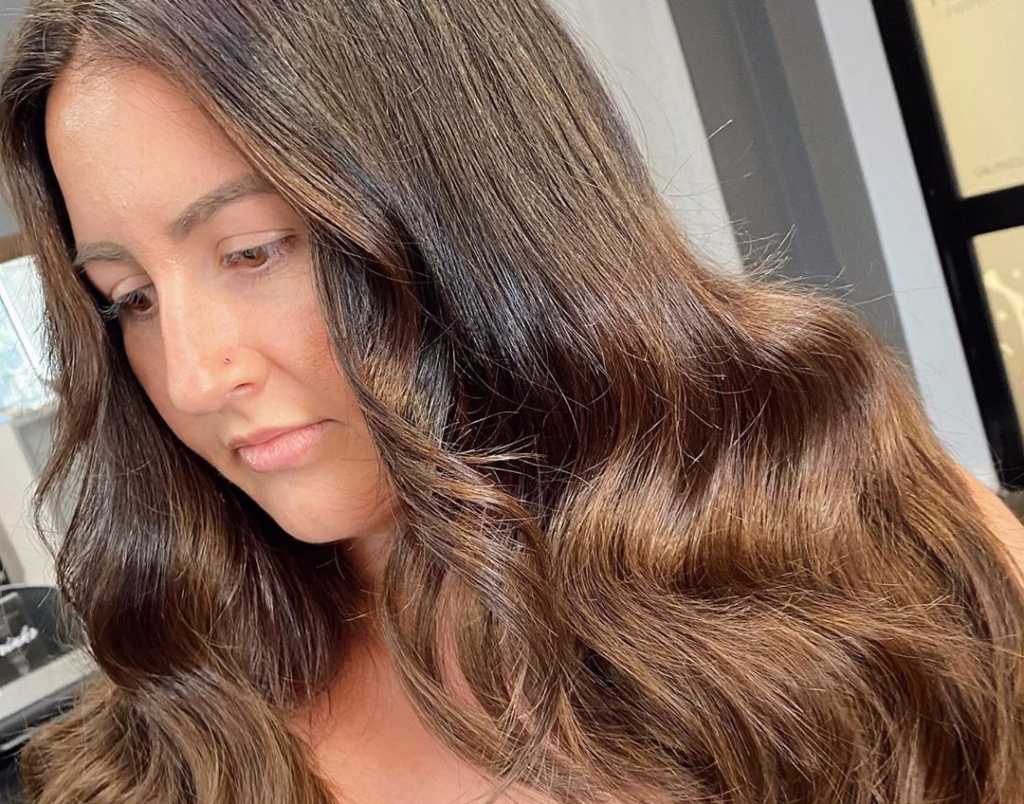
Here we’d like to provide you with some practical ideas to solve this problem. Before this, please make sure you have shampoo, conditioning mask and some pantry goods at hand. Your dyed color will be out of the following 4 results: too dark, too light, brassy or green. If your color is one of the kinds, please follow the corresponding advice for different situations.
If your hair is too dark...
Wash your hair at once. If it is even darker, you can mix the shampoo with a spoon of baking soda and apply it on your wet hair. Leave it for 5 minutes. Another method is to apply olive oil onto your hair and wrap your hair with the shower cap, and then put a hot towel onto your shower cap. By this means, the heat radiated by the towel will be kept by the shower cap, and the heat will not escape. The heat will help to open the cuticle, which will be helpful for the exudation of dye molecules. Then shampoo your hair as soon as possible.
If your hair is too light...
You are required to add more dye. If your hair is pale, you need to choose the shade which is darker than the one you used before. It is not required to apply it onto your hair thoroughly, and you just need to apply it onto the area which you are not satisfied with. Besides, you only need to leave the dye on your hair for the time which is half of the time written on the box. Always keep an eye on the color change of your hair to make sure it won’t change significantly. If it keeps light, we recommend you to seek a professional for help.
If your color is brassy...
What you need to do is to tone down the warm tint. If the dye you’ve applied is semipermanent, you are advised to use the lavender-hue shampoo for a couple of days in the future; if the dye you’ve applied is permanent, you need to paint the shade which is two tones darker on the orangey spots. Please choose a blue based cooler tones next time.
If your hair turned green...
Use the clarifying shampoo to wash out the tint, or you can also apply the deep treatment mask. If it doesn’t work, the ketchup will help. Because the red can balance out the green color, and the neutralization will take place caused by the acidity contained in the ketchup. Make sure you have knowledge about color protection.
Make your hair color last
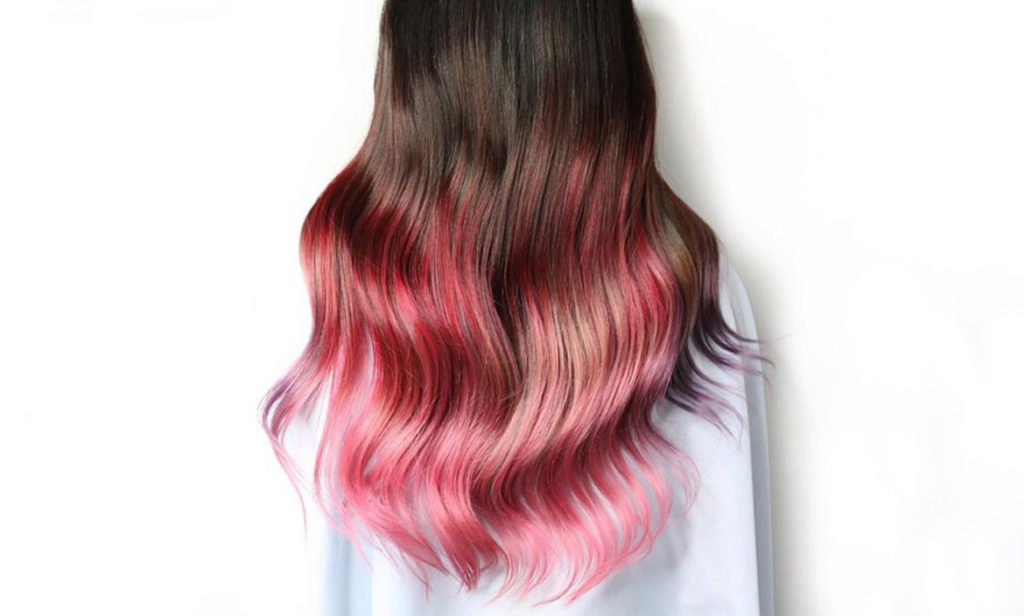
Your hair deserves the same treatment as your skin. Apply the sulfate-free, color-preserving shampoo and conditioner, and keep away from the alcohol contained stylers, which is helpful for you to know about the ingredients on the box.
Try not to use shampoo often. Water is not good for you to keep your hair color last, but you can still apply the dry shampoo onto the roots of your hair. Or you can use warm water to wash your hair and use the conditioner.
To keep the moisture on your hair and keep your hair soft, it is best for you to apply deep conditioner once a week.
Gloss treatment can be done by adding shine to your hair as the coat of color. It is best for you to apply lightweight formula once a week.
It is also necessary to protect your hair against ultraviolet ray. Ultraviolet ray can not only cause the lipid loss in the surface layer of hair, but also can damage your hair scales. Besides, the ultraviolet ray can cause the color fading, so please wear the sunbonnet before you go out. Or you can use the ultraviolet ray protectant spray on your hair.
Those are all about tips and advice we provide for you. Hope you enjoy your DIY dyeing at home!
I liked your tip of dyeing a small section of your hair before doing your full head. My wife is wanting to switch up her hairstyle and she was wondering how she can dye her hair to make it look beautiful. I’ll be sure to tell her that she should dye a small section before doing her full head.